AUTUMN
DECEMBER 2012

Showing posts with label art project. Show all posts

September 27, 2011

PLAYING WITH POKEWEED

Do you have Pokeweed growing at your house? 


 The plant is poisonous to humans, from its roots to the leaves and berries.
Did you know it is only in the very early spring, that the very young shoots are edible? 
But you need to know exactly where the pokeweed grew to be able to identify the new growth. You will notice the hollow dried stalks turned white and bent over from the winter and the new shoots will be emerging right there. If you are not 100% sure, never never eat it.


We love watching the transformation of this perennial plant. It can reach 10 feet tall and leaves can be 12 inches long. The stems starts out green and turns a gorgeous magenta color, 
The berry cluster starts as white flowers then green to dark purple berries.
Pokeweed (Phytolacca americana)
Even though the plant is poisonous, with awareness and caution, children CAN come in contact with this plant. Tell them all about the plant and why they shouldn't touch it. When children know the reasons why, it all makes sense to them.

Pokeweed is a value to wildlife and quite attractive in the landscape. It would be a shame to rip it out in fear of its poisonous aspect. 

Pokeweed berries are an important food source for wild life. American Robin, Northern Mockingbird, Mourning Dove, Gray Catbird, Eastern Bluebird, Northern Cardinal, Great-crested Flycatcher, Eastern Kingbird, Eastern Phoebe, Yellow-bellied Sapsucker, European Starling, Brown Thrasher, Cedar Waxwing, Red Fox, Virginia Opossum, Raccoon, and White-footed Mouse all eat the berries.


We drew the plant in our nature journals. It was fun coloring the bright colors of the stems and leaves.


Then . . .we donned disposable gloves, picked the leaves, scrunched them and made designs on paper. The berries were the best part, we squished them and drew with them noticing which berries made the brightest color.


Some other fun activities with Pokeweed: 

  • make dye from the berries and dye wool roving, yarn or muslin
  • make ink from the dye and write with a quill pen. It is said they wrote the Declaration of Independence with Pokeweed ink. 

happy day!


February 10, 2011

NO WORRIES


We made worry dolls, inspired from Guatemala.  

During the winter months at earth school, when we cannot spend all of our time outdoors, we come inside and focus on other people of the earth; cultures through art.


The children enjoy working with maps and we always locate the country on its continent first.
Can you see Guatemala?


 We also label an outline map of the country, with the capital city, surrounding countries and bodies of water.
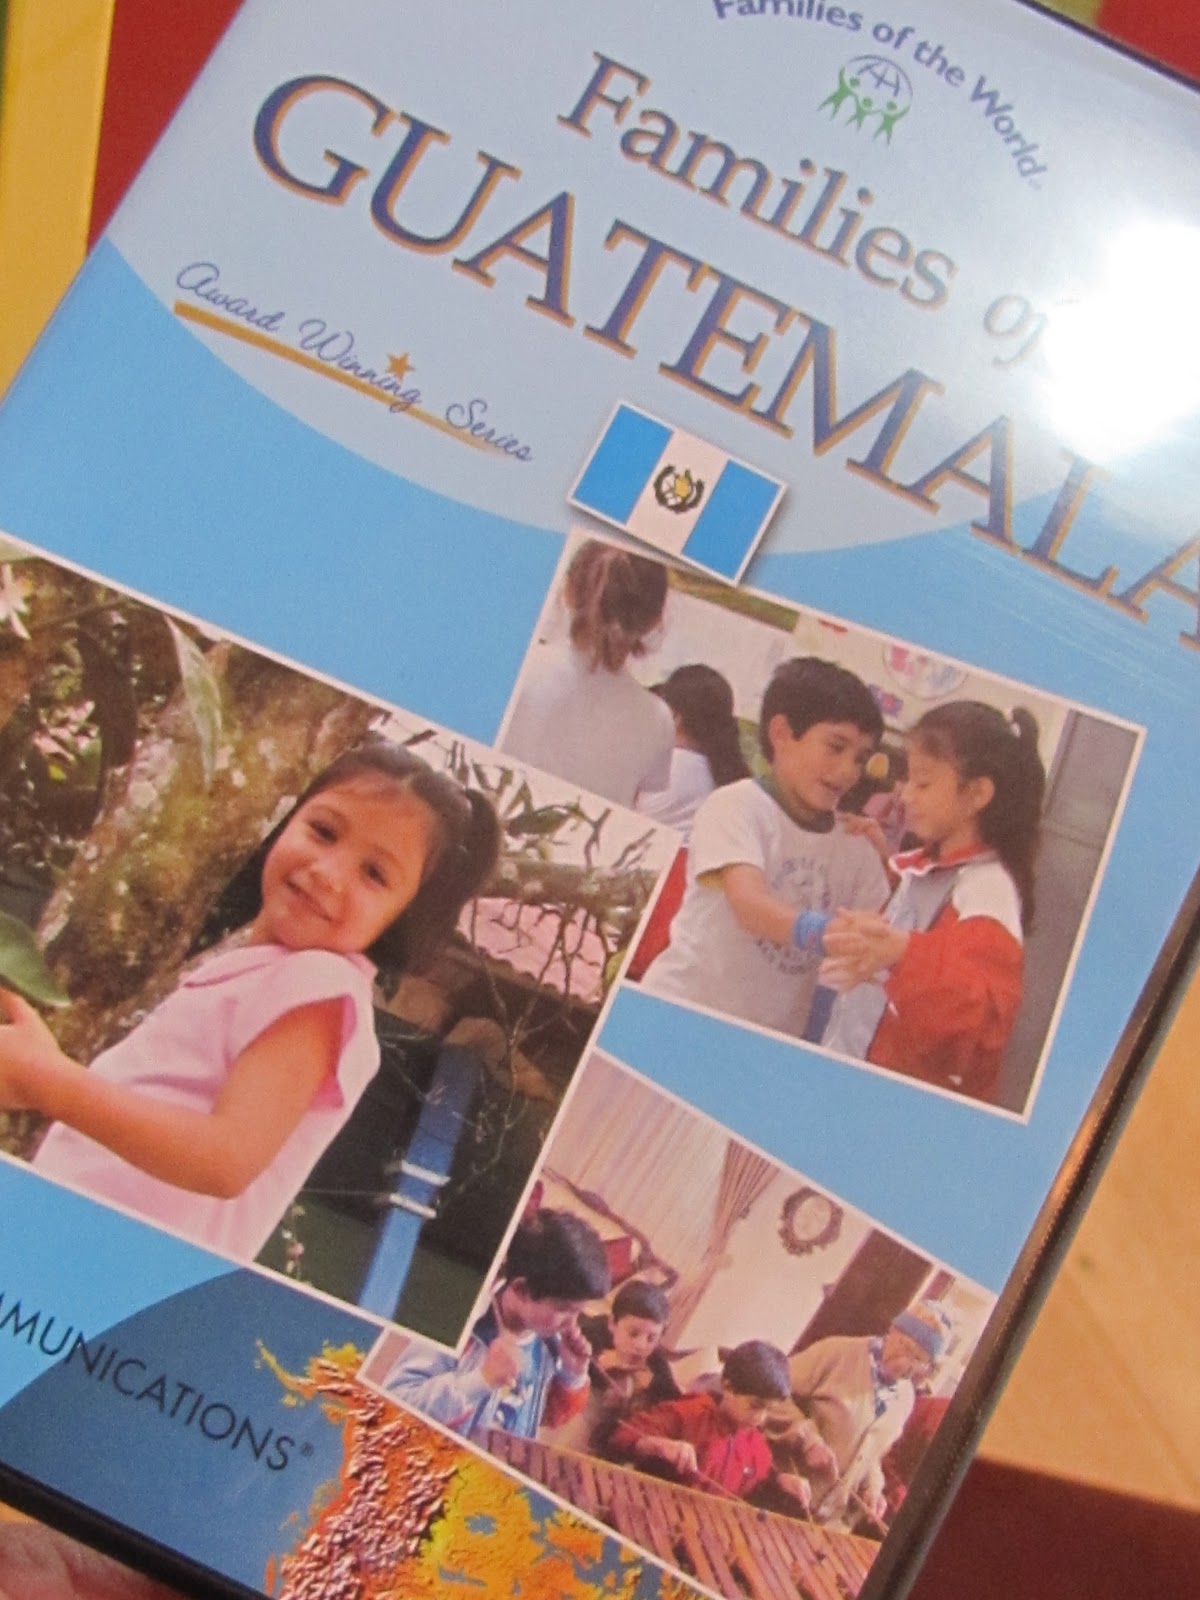
The map work gives the children a reference point, exactly where the people of each country live, before they watch the DVD about family life there.  


We love this DVD series, Familes of the World. Each DVD showcases two different families of a particular country, one from a rural area and one from the city. 

Afterwards we talk together, comparing the culture to ours, what the similarities and differences are, and together we make a list.  All the children get involved and it's fun!


We also make ART having to do with each culture, like Guatemalan worry dolls.


Guatemalan worry dolls date back to Mayan traditions and they are thought to soothe fears and anxieties.They are mostly made for children to put under their pillow at night or carry in a pocket. They measure less than an inch long and are made with thin wooden sticks and scraps of clothing and usually come in a box of six.

We took the inspiration from Guatemalan worry dolls, but made our own. 
Our dolls were bigger, about two inches. We used yarn for the body, a wooden bead for the head and an acorn cap for a hat. Some children added hair. 


We formed the body with a chenille stem, using a page from Sally Mavor's terrific book, 
 Felt Wee Folk, for guidance.


We formed the body
twisted it at waist and neck
and started wrapping with the yarn, catching the loose yarn under the leg wrapping, and wrapping until all the chenille stem was covered. Some children decided to leave the ends of the arms and legs unwrapped to look more like hands and feet.

Once the wrapping was completed, we tucked the loose end under another wrapped yarn or up to the neck to tuck under the head. 
A wooden bead was used for the head and glued on.


All the children used an acorn cap for a hat, and some made hair with the yarn.
They also decided it was important the dolls have facial features, and they drew them on with fine marker.

Each doll is very unique and very sweet, just like all the children at earth school.


Go check out what others have done at the Hands-On Homeschool Carnival hosted this month by Cultivated Lives.


                                                               happy day!


January 7, 2011

FRIENDSHIP PUZZLE NECKLACE


A handmade friendship necklace  was made for three close friends.  


Supplies:
- three old puzzle pieces that fit together
- acrylic paint
- colored tissue paper
- acrylic varnish
- awl 
- cording
~Paint both sides of the puzzles pieces (Tip:  know which is the front; see how it will fit into the other pieces).


~Embellish the front of the pieces.  Layers of paint and strips of tissue paper were used here.


~ Cover with three coats of acrylic varnish and let dry between coats.


~Pierce a hole with an awl or very slender nail. (Tip: Put the pieces together and mark a dot at the top where the hole will go)


~Thread cording through and tie.


~Give to your friends. . .  with love.
This was lovingly made by my 12 yr old daughter for herself and two friends.


happy day!


December 22, 2010

NOTES IN A FRAME

My twelve year old made gifts for her siblings. Bulletin board frames!  They came out great.
-She bought frames, removed the glass and cardboard easel part, then sanded, painted and embellished them  in the colors of her choice. 


- She glued two layers of cork bulletin board material onto the cardboard easel part . It came in a roll at a craft store. She used wood glue to glue them on and put heavy books on top of them until dry. Once dry she reassembled the frames.


- She bought some buttons and chose others from our stash.


 She used wire cutters to snip off the back if needed. Then used E6000 glue to secure the buttons onto thumbtacks.

These frames are just waiting for some To Do lists, Inspirations and Photos !


She did a crackle technique on one frame but I didn't get a picture of that one.
This is fun to make and relatively easy too. It is a useful gift that takes up little space and can be easily moved to where you need it most.


Perhaps you know someone who would enjoy a gift like this!


  happy day!


December 6, 2010

MAKE - REVERB 10


Day 6 prompt – Make. 
What was the last thing you made? What materials did you use? Is there something you want to make, but you need to clear some time for it?

I always have a list of things to make and eventually I get to them. I am looking forward to some uninterrupted time after the holidays to get to some sewing projects. I also want to slipcover two wing back chairs in a myriad of funky fabrics.

The last thing I made was these ornaments using tissue paper and mod podge. . . this morning.


Supplies:
 Clear plastic ornaments. I got them at at a craft store. I used plastic so they wouldn't be too fragile for little hands, in case I had helpers.
Assorted colored tissue paper . . . 
and modpodge (OR homemade decoupage medium).

 Recipe to make your own decoupage medium: 
Mix 1 cup white glue with 1/3 cup water. Add 2 tablespoons acrylic varnish ( matte or gloss). Keep in container with tightly sealed screw on lid. 


Brush the mod podge on the ornament, tear pieces of tissue paper and adhere to ornament. Coat with more mod podge and let dry.  


Very easy and very fun. Invite a child to join you!
                     
        reverb 10 -- reflect on this year and manifest what's next.      


         happy day!