AUTUMN
DECEMBER 2012

Showing posts with label children and art. Show all posts

December 1, 2010

MARBLEIZED FUN


We marbleized paper today using our favorite method. . . with shaving cream
You should give it a try. It is really simple and you can have a stash of gorgeous papers to use in a multitude of ways. 
Here's what to do:
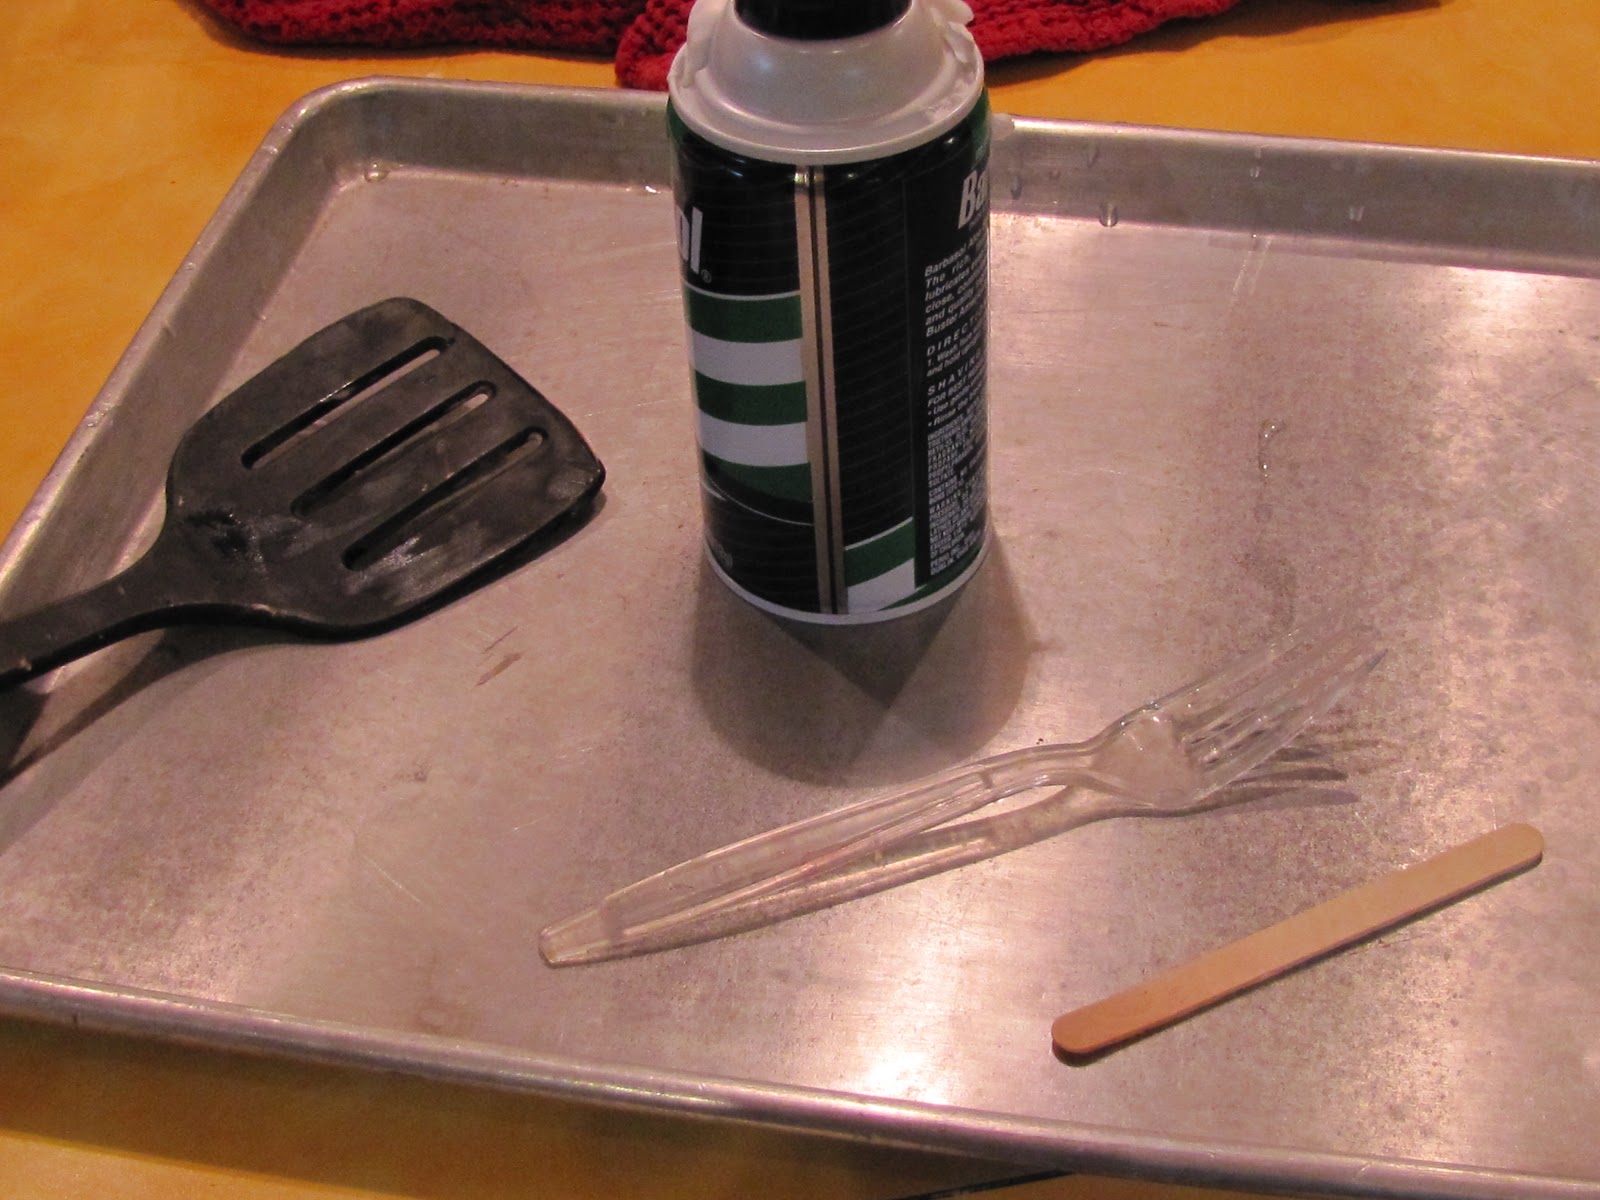

Supplies:
- paint or inks ( we used inexpensive acrylics)
-paper ( watercolor or sketching paper)
-shaving cream (men's is cheaper and we usually try to get unscented or anything but menthol)
- tray or cookie sheet (or you can also use foil or waxed paper)
- spatula for scraping shaving cream
-forks, sticks, and other assorted tools to swirl ( it's fun to experiment with different things)


We cut our paper in half. It makes it easier to handle, especially for children. One you get the hang of it, it is easy to do a whole page. And of course, the heavier the paper ,the easier it is to do a whole page at one time.


1) Squirt your shaving cream on the tray about the size of your paper. Please allow children to do it themselves, this is a fun part ! Spread it with a knife if there are gaps.
2) Decide on 3-4 colors and drop them onto the shaving cream
3) Take a fork ( and other things) and swirl the paint. Be careful not to keep mixing the same areas for it will turn brown. Swirl one area and move to the next area,
4) After it is all swirled, lay your paper face down in the paint-swirled shaving cream and press down making sure there is good contact all over.
5) Life one corner very carefully. . . Lift it straight up !

6) Carry it to the sink area and lay it down.
7) Scrape off the shaving cream with a spatula, scraping in one direction, dropping the shaving cream into the sink. You can even rinse the spatula, it won't hurt the paper 

8) Once all the shaving cream is off let it dry
9) Add more paint to the shaving cream on the tray and do it again and again .
That way you will have many papers to use in the future from the one batch of shaving cream and paint.


You can tell when you don't want to use it anymore. It starts to get cloudy.
10) Once they are all dry, put them between waxed paper or parchment paper and under a heavy stack of books to flatten out. Then use as you wish!
You can use them for backgrounds for other art, in journal pages, ATC's or mixed media art, or as greeting cards, thank you notes, etc.  You can cut out letters from them. 
Anything is possible!


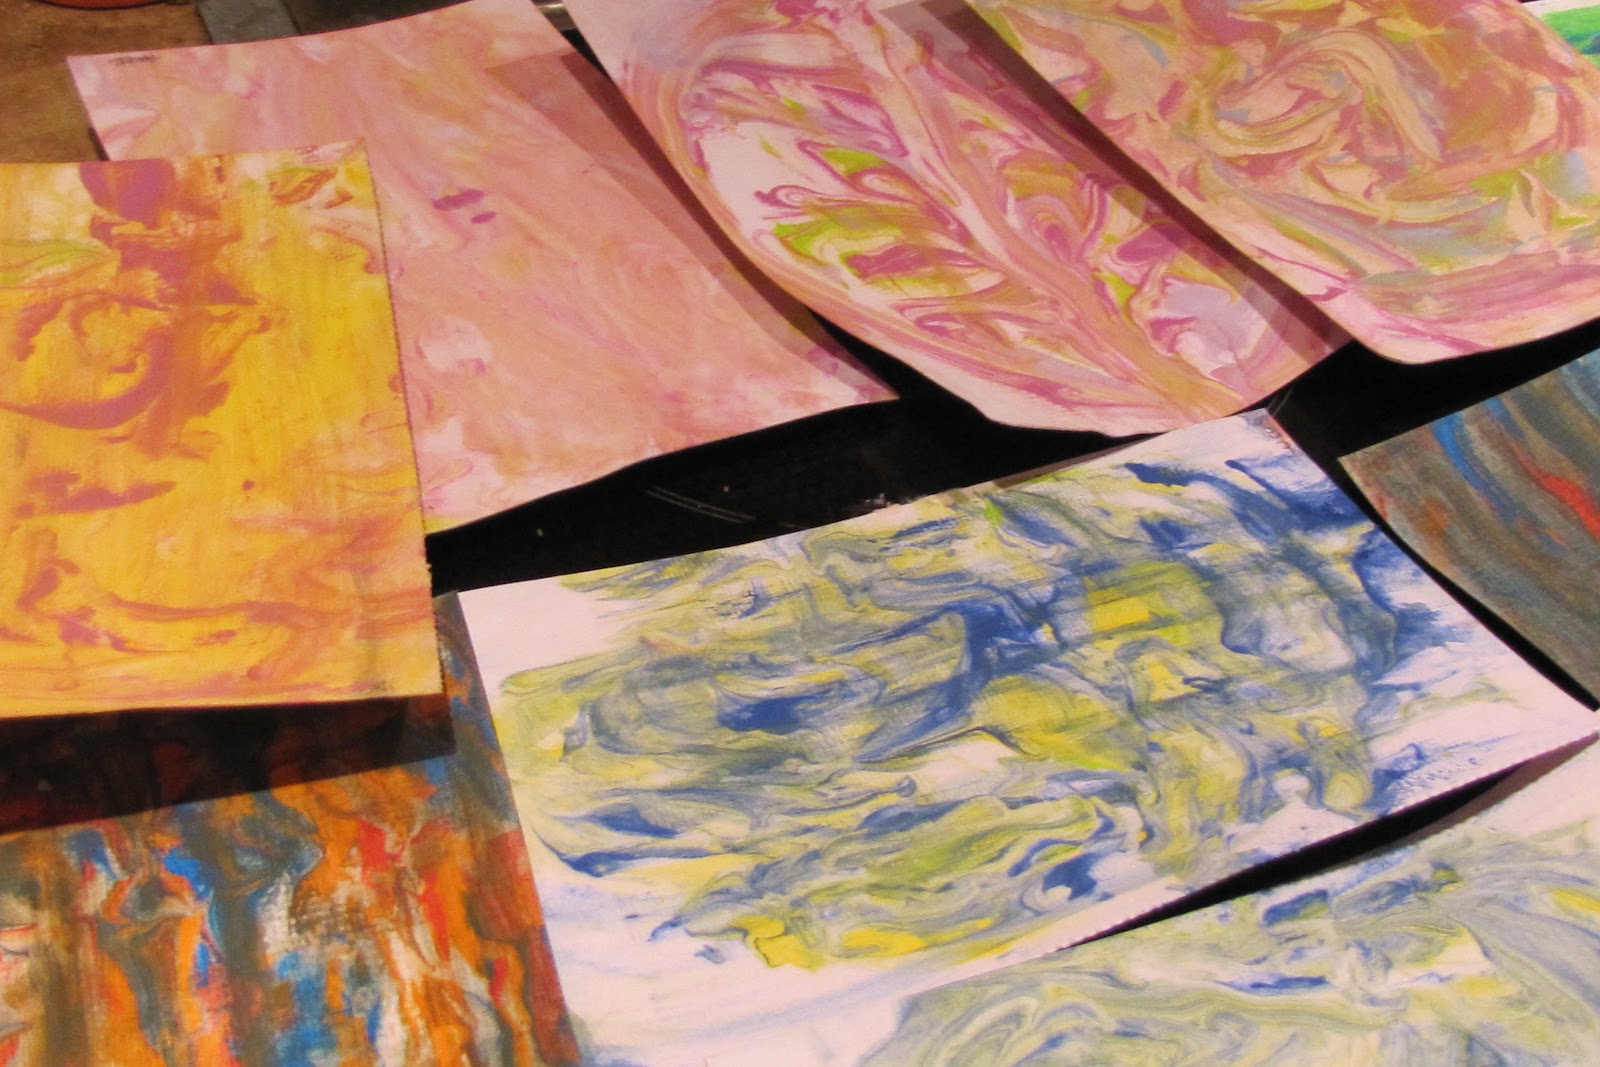
Stay tuned for what we plan to use all our marbleized paper for. Ssssh It's a secret! But for now you can view the gallery of paper the children made. Beautiful!


 The Gallery of Marbleized Paper


Did you notice the grey one? That was the last of a batch when all the colors got mixed together. The grey is still beautiful though. A nice background for something special.


happy day, happy marbleizing!


November 14, 2010

CIRCLE ART

There are no limits to what you can do with fabric, paints and shapes. Printing on fabric is a great art project for all ages, even the youngest child.
First, decide what shape you want to use and look around your house to see what you can find. It's always good to use what you have.


We decided on CIRCLES for our shape and came up with these objects.
Use cotton fabric. We used a heavy cotton, part of an old drop cloth. I think a heavy cotton works best but it depends what you will do with it.


Choose a paint color palette of about five colors. It adds variety and drama.


Dilute your paints to a more liquid consistency, or use inks. We used acrylic paint and added some water and stirred.


Then very simply dip your shape into the paint and press it onto the fabric. Newspapers, or paper towels, should be kept nearby to practice on before you press onto the fabric or to get excess paint off your shape.

And remember, there's no right way or wrong way, it's ART and ART has no rules.

We have three, grouped together, hanging on our wall near our windowseat. But they can also be made into pillows, or even a doll quilt or anything you can imagine.
You can have an idea what you want to use it for before you begin your printing. OR you can just have fun creating with no idea in mind . . .  as in process vs product :)


Other ideas for uses. . . 
 banners, curtains, duvet covers, table runners, slipcovers, shower curtains.


  Various greens, using a few triangular shapes as trees ( for a winter theme) and topping off some *trees* with a dot of red ( for a holiday theme), would make a great  table runner . . . or a pillow. 


Circle art . . . printing circles. . . can also be used on paper in pages of an art journal here.


Whatever comes to mind, you can make it happen, or at the very least, have fun trying :)


Just delve in and BEGIN, and most of all, 
enJOY the journey!

happy day!